Styling WordPress Contact Form 7
July 12, 2015 / by Marco / Categories : Business, Websites, Wordpress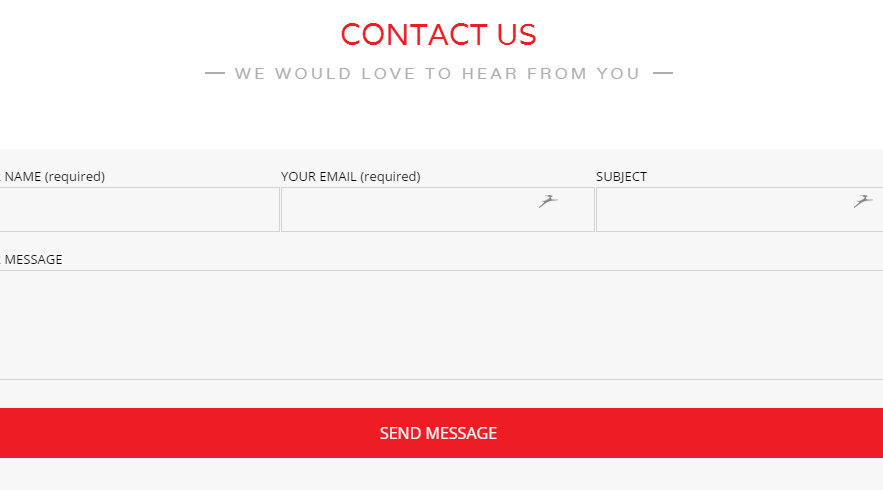
Styling a contact form can be a difficult task, especially for those like me that have very little programming experience but with some persistence (more like trial and error), I managed to style the contact form. The website is built using WordPress and the theme that was used is Unik.

The theme also had a built in Contact Form but it wasn’t customisable especially the way it sends out the information in the form so I decided not to use it. It was one of the reason why I had to use the plugin Contact Form 7.
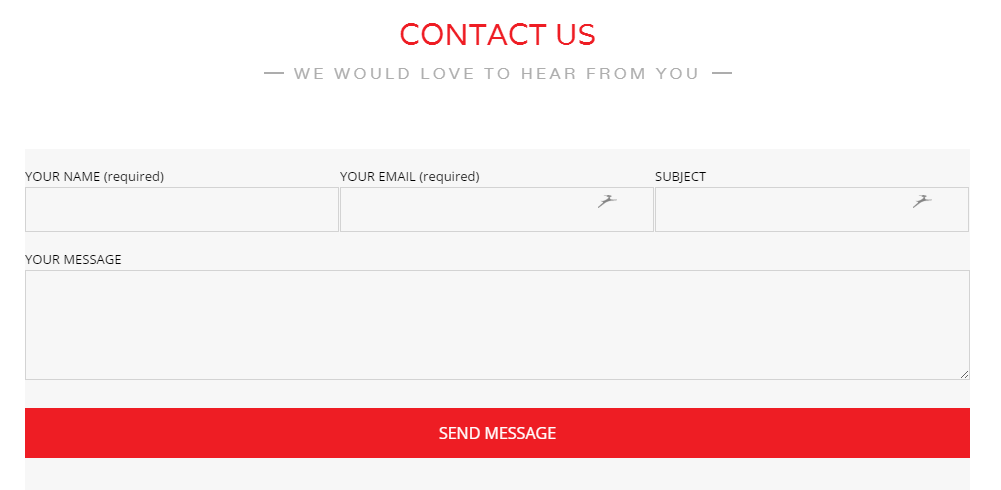
Firstly, lets have a look at the default style for the Contact Form 7 – it looks like this:
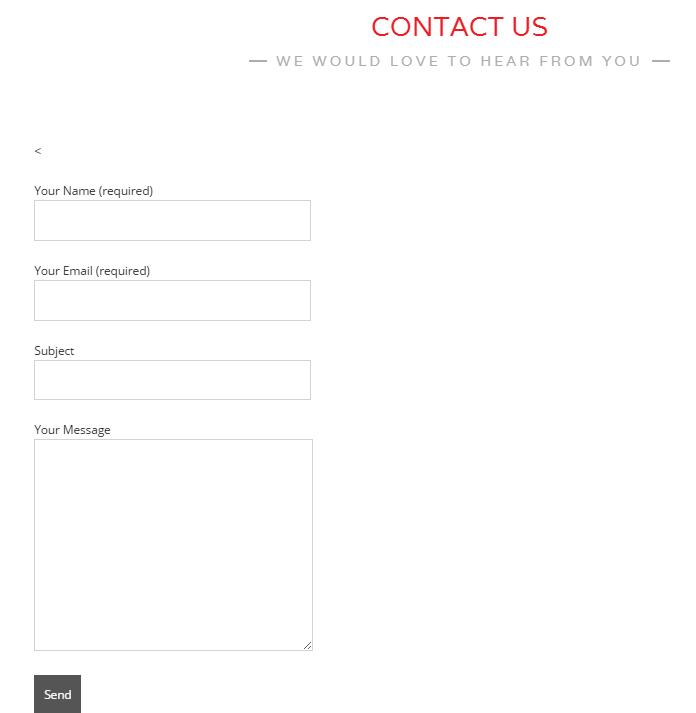
As you can see the default style of the form is pretty boring and it actually doesn’t match the style guide of the website.
So the first step is to change the layout of the form. I wanted the Name, Your Email and Subject to be in the same row. The Your Message field and the Send button I wanted these to also be in a separate row. To do this, I ended up using the table syntax (yes I know most of you will say its best to use CSS but I didn’t have enough time to work this out so I used tables instead). Anyways, here’s the code that I used:


<table>
<tr>
<td>
<p>YOUR NAME (required)<br />
[text* your-name] </p>
</td>
<td>
</td>
<td>
<p>YOUR EMAIL (required)<br />
[email* your-email] </p>
</td>
<td>
</td>
<td>
<p>SUBJECT<br />
[text your-subject] </p>
</td>
<td>
</td>
</tr>
</table>

<table>
<tr>

<p>YOUR MESSAGE<br />
[textarea your-message] </p>

</tr>
<tr>
<p>[submit "Send Message"]</p>

</tr>
</table>
You need to paste the code in the Form Tab in Contact Form 7.
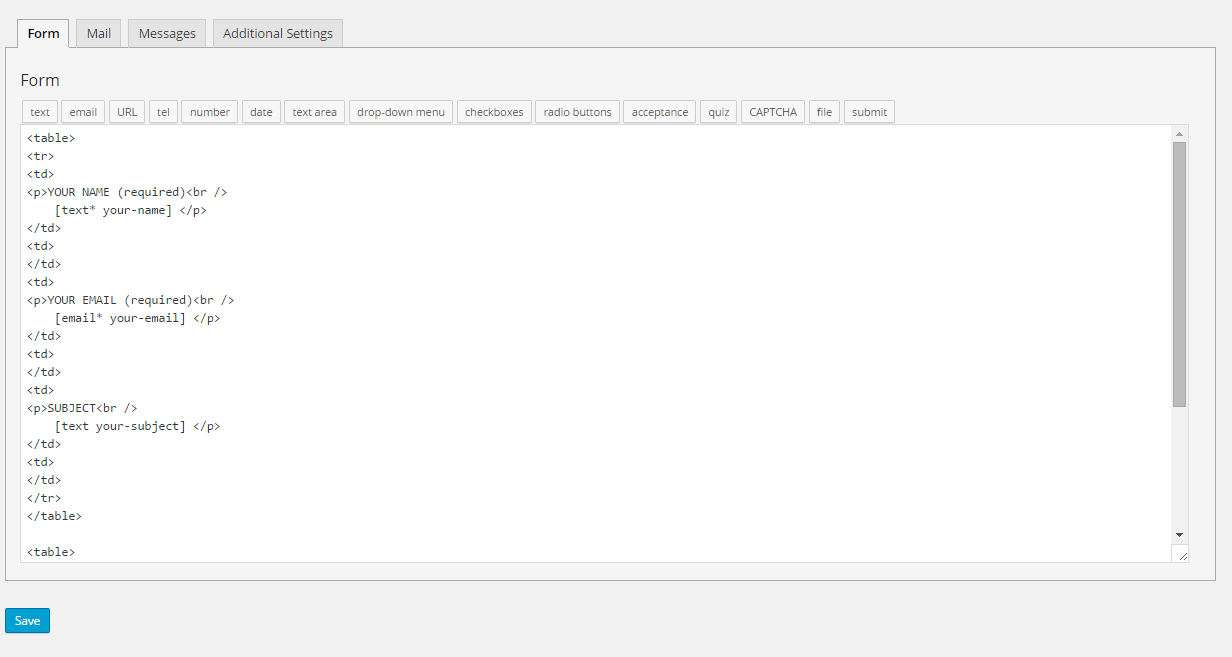
Make sure to click Save. After these changes the form should look like this:
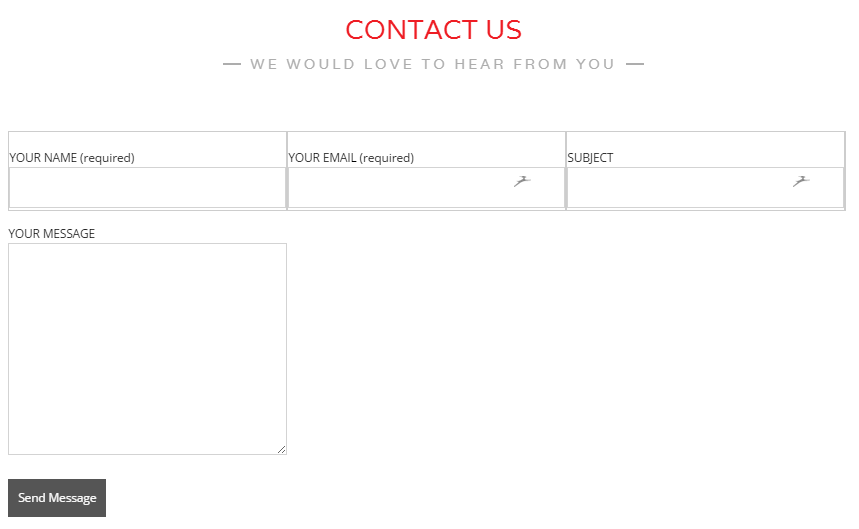
You will notice that the second and third row is not displaying full width for the second table and this is caused by some CSS syntax. So I wanted to make the following changes:
- Display full width
- Changed background colour
- Removed the borders around each field
- Changed the button and text colour
- Changed the text for each field and the button to be all uppercase.
Here’s the CSS code I used:
.wpcf7
{
background-color: #f7f7f7;
border: 0px solid #0f0;
}

table:not([class]) td, table:not([class]) th {
border: 0px;
}

input[type=submit] {
background: #ee1d24;
color: #00000;
font-size: medium;
display: block;
width: 100%;
height:50px;
text-transform: uppercase;
}


input[type=text], input[type=password], input[type=email], input[type=search], textarea{

margin-right:5px;
text-transform: uppercase;
height:45px;
width: 100%;
}
I pasted this CSS code in the Unik theme’s Custom CSS section as shown below:

So after all the above changes the final Contact Form looked like this:
If you need to put a captcha box on the Contact Form then you need to install the plugin called Really Simple Captcha and add the code like below:
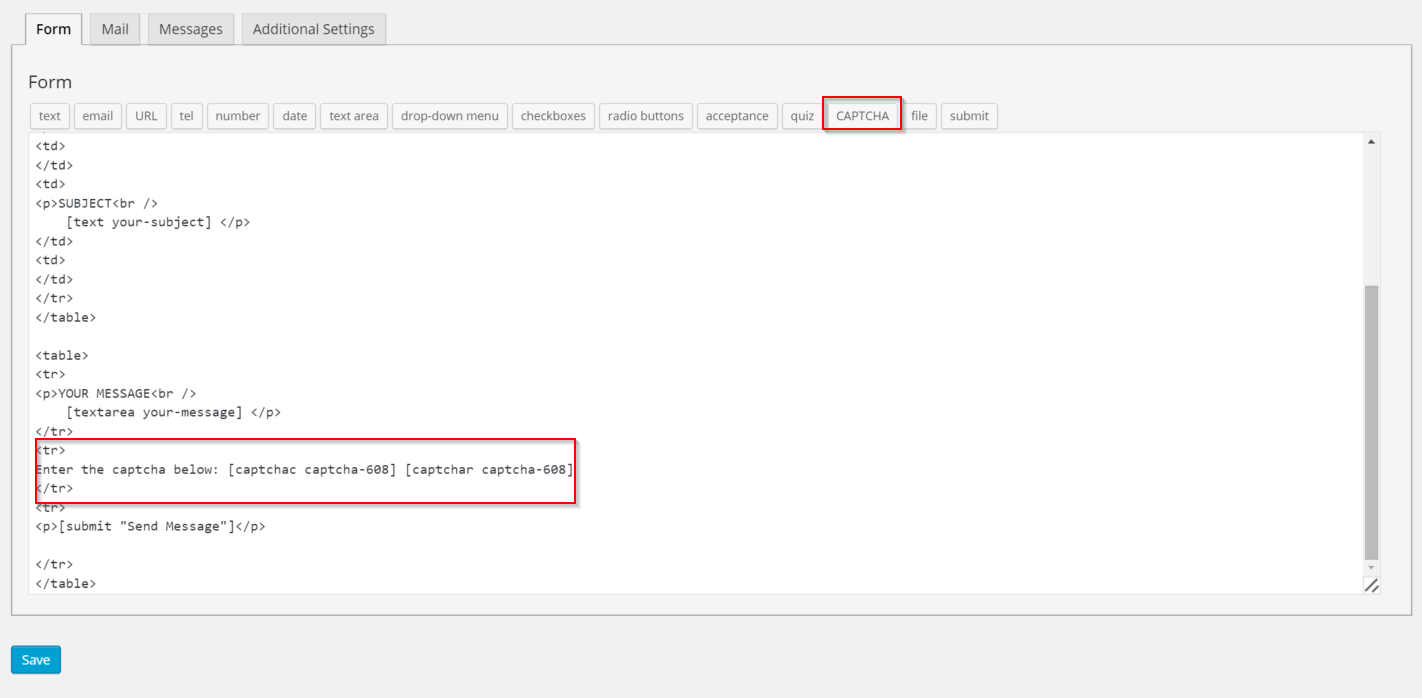
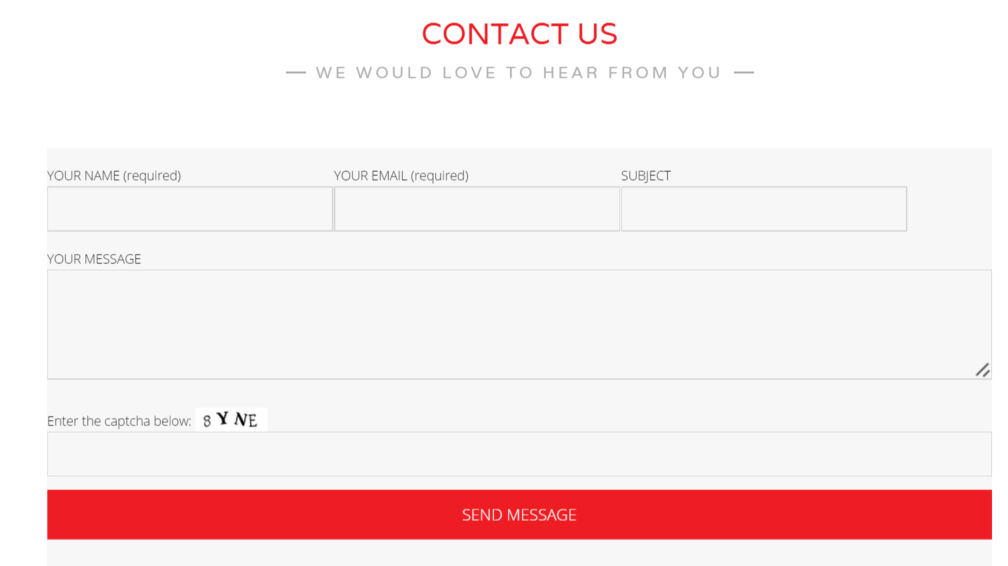
Press save and you will now see the Captcha box on the form:
WordPress – Popular Content Management System
Unik – Awesome WordPress Theme
Contact Form 7 – WordPress Plugin for contact forms
Really Simple Captcha – WordPress Captcha Plugin compatible with Contact Form 7

Marco / admin / 30 Nov
Writing day to day ramblings about making money, business, technology, sharing awesome deals and everything else that I know I'll forget. Follow my personal blog https://marcotran.com.au
I've recently also turned Vegan and started this website Veggie Meals - check it out
"When technology speaks for itself, that is art" - MT
Affiliate Compensated: there are some articles with links to products or services that I may receive a commission.
OTHER ARTICLES YOU MAY LIKE

USE THESE TOOLS TO BUILD YOUR BUSINESS
Building a business has never been short on ambition, but it has often been short on time, budget, and operational headroom. Founders are expected to market like a media team, sell like a seasoned closer, support customers around the clock, manage projects with precision, and still find space to think strategically. That is exactly why […]
read more
HOW TO USE SPLIT VIEW IN GOOGLE CHROME
Google Chrome is full of useful features that many people never notice until they appear by accident during everyday browsing. One of those quietly helpful tools is Split View, a feature that makes it much easier to work with two tabs side by side in the same browser window. If you regularly compare documents, read […]
read more