
I needed to delete the TightVNC IP Addresses from the drop down list and decided to write them down before I forget.

Here are the steps I did to delete the history from TightVNC on a Windows Operating System:
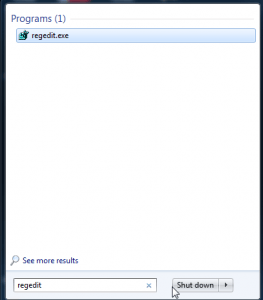
- Open up the command prompt or in the search box type REGEDIT

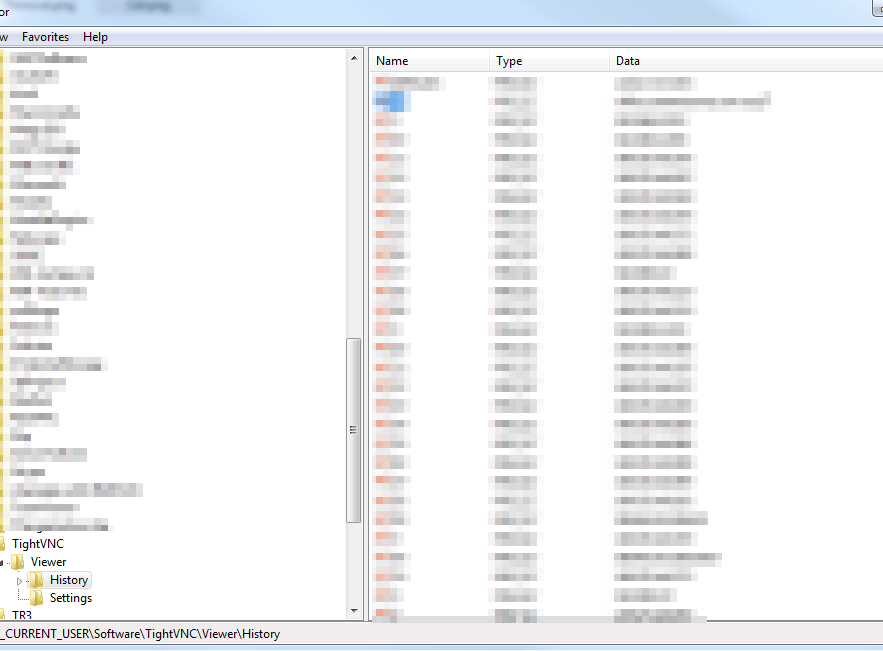
- Now click on Computer – HKEY_CURRENT_USER – Software – TightVNC – Viewer – History and on the left hand side you will see all the entries. Select them all and click on delete

- Then start TightVNC and you will notice there entries have been removed.
NOTE: Be careful when deleting entries from the registry editor. Always perform a backup of the registry.

Marco / admin / 30 Nov
Writing day to day ramblings about making money, business, technology, sharing awesome deals and everything else that I know I'll forget. Follow my personal blog https://marcotran.com.au
I've recently also turned Vegan and started this website Veggie Meals - check it out
"When technology speaks for itself, that is art" - MT
Affiliate Compensated: there are some articles with links to products or services that I may receive a commission.
OTHER ARTICLES YOU MAY LIKE

USING THE LATEST CLAUDE MODEL TO BUILD GREAT TOOLS
If you have ever had an idea for a small tool but stopped because coding felt too hard, the latest Claude model makes that gap much smaller. You can now describe what you want in plain English, ask Claude to plan it, build the first version, improve the design, write the logic, test the workflow, […]
read more
REVIEWING AND UNBOXING THE TOOCKI USB-C RIGHT ANGLE 1.2M CABLE
USB C cables are among the most ordinary accessories we own, yet they can make a surprisingly noticeable difference to how comfortable our devices are to use while charging. The Toocki USB C right angle cable is a good example of a simple accessory that tries to solve a very common irritation, because instead of […]
read more