OPENSSL TUTORIAL: CREATE A PRIVATE KEY AND SSL CERTIFICATE FROM THE TERMINAL
August 26, 2025 / by Marco / Categories : Business
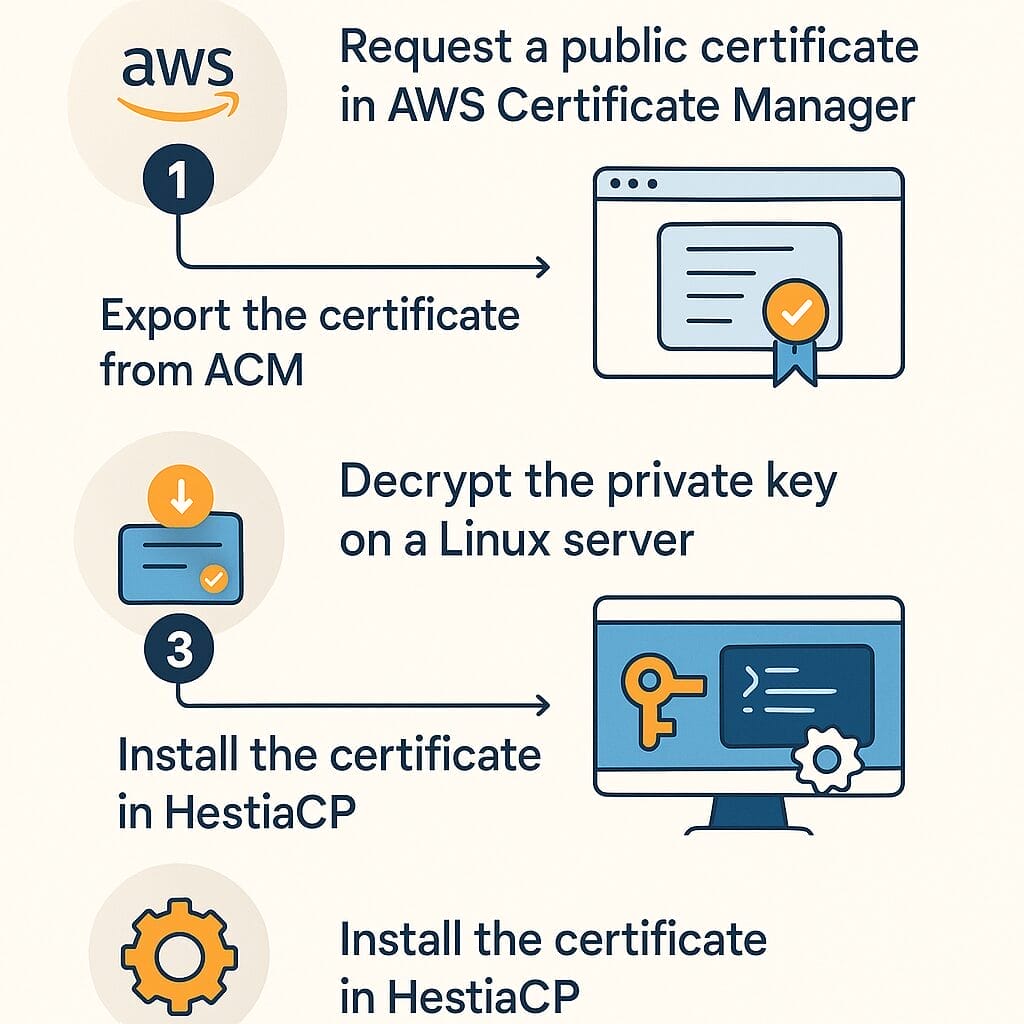
In this guide, we’ll walk through requesting a certificate in AWS Certificate Manager (ACM), exporting it with a passphrase, decrypting the private key on a Linux server, and installing the certificate into HestiaCP. I’ll also point out exactly where each step happens with the screenshots referenced in the transcript.

1) Request a public certificate in AWS Certificate Manager
Start by creating a certificate request in ACM for the domain (or subdomain) you want to secure.
- Open AWS Certificate Manager in your AWS console.
- Choose “Request” and select “Request a public certificate.”
- Add your domain names (e.g., example.com and/or subdomains).

For validation, choose DNS validation. This method is fast, automatable, and keeps the validation record in your DNS, so future renewals are seamless.
- Add the provided CNAME records to your DNS host (Route 53 or your external DNS provider).
- Submit the request and wait for validation.

Once AWS confirms the DNS record, the certificate status will show as “Issued.”
2) Export the certificate from ACM
After the certificate is issued, click into the certificate details page via its Certificate ID.
Use the Export option and set an encryption passphrase. This passphrase will be used to protect the private key during export.

Choose PEM encoding, then export and download the files. You’ll get:
- Certificate body (certificate)
- Certificate chain (intermediate/CA bundle)
- Private key (encrypted with your passphrase)

Save all three files securely. We’ll need them to install the certificate later.
3) Decrypt the private key on a Linux server
To use the certificate with HestiaCP, you’ll need the unencrypted private key. We’ll decrypt it using OpenSSL on a Linux box (Ubuntu in this example).
Create a file on your server and paste in the exported encrypted private key (the one you downloaded from ACM):

Verify OpenSSL is installed. If you see usage options when running the command below, you’re good to go. Otherwise, install it (for Ubuntu: sudo apt update && sudo apt install openssl).

Run the following command to decrypt the key. Replace the filenames with your actual paths.
openssl rsa -in encrypted-private-key.pem -out decrypted-private-key.pem
When prompted, enter the passphrase you set during export. After success, you’ll have a decrypted private key file you can use with HestiaCP.

4) Install the certificate in HestiaCP
In HestiaCP, go to the domain’s web settings (Web → your domain → Edit) and open the SSL section.
- SSL Certificate (CRT) field: Paste the Certificate body.
- SSL Certificate Authority / Intermediate (CA bundle) field: Paste the Certificate chain.
- SSL Key (KEY) field: Paste the decrypted private key (not the encrypted one).

Do not paste the original encrypted key. Make sure you copy the contents of the decrypted key you generated with OpenSSL.

Save your changes. After saving, the certificate should be active for the domain, and your site should load over HTTPS without warnings.

Tips and troubleshooting
- If the Export option isn’t visible in ACM, double-check the certificate type and region. Ensure you’re exporting the certificate you just issued.
- If HestiaCP rejects the key, confirm you pasted the decrypted private key (PEM format with
-----BEGIN PRIVATE KEY-----headers). - Ensure your CA bundle is complete. Paste the full chain provided by AWS.
- After installation, test with an SSL checker (e.g., SSL Labs) to verify the chain and expiry.
That’s it! You’ve requested, exported, decrypted, and installed an AWS Certificate Manager certificate in HestiaCP.

Marco / admin / 30 Nov
Writing day to day ramblings about making money, business, technology, sharing awesome deals and everything else that I know I'll forget. Follow my personal blog https://marcotran.com.au
I've recently also turned Vegan and started this website Veggie Meals - check it out
"When technology speaks for itself, that is art" - MT
Affiliate Compensated: there are some articles with links to products or services that I may receive a commission.
OTHER ARTICLES YOU MAY LIKE

USE FUSEBASE TO AUTOMATE TEAMWORK AND COLLABORATION
If your business is growing, your team is juggling too many moving parts, and your client communication is spread across email threads, chat apps, documents, task boards, and endless follow ups, there is a good chance the real problem is not effort but fragmentation. Most businesses do not lose time because people are lazy. They […]
read more
USING REAP FOR VIDEO CLIPS
Short form video is now one of the most effective ways to reach new audiences, grow brand awareness, and turn long form content into a steady stream of social media assets. For creators, marketers, consultants, educators, and business owners, the challenge is rarely a lack of content. The real problem is time. Editing long videos […]
read more