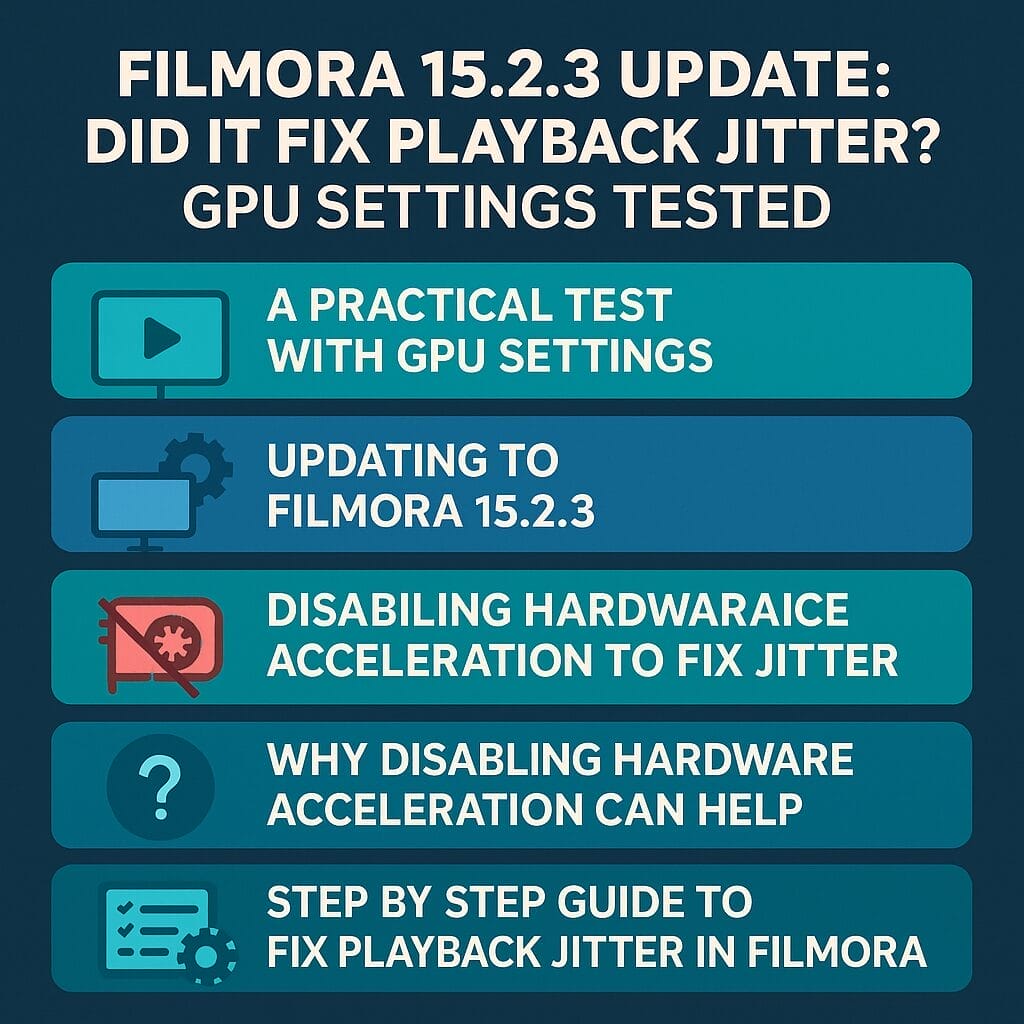
FILMORA 15.2.3 UPDATE: DID IT FIX PLAYBACK JITTER? A PRACTICAL TEST WITH GPU SETTINGS
January 18, 2026 / by Marco / Categories : Business, Software, Technology
Wondershare Filmora has received a new point release, and for many editors the first question is simple. Has this update finally fixed that annoying playback jitter in the preview window. If you have felt a stutter during editing that makes your footage look as if frames are being skipped or shuffled rather than played smoothly, you are not alone. In this deep dive I walk through the process of updating to Filmora 15.2.3, test different performance settings including the built in GPU check, and show what actually solved the jitter issue on a Windows system with an Nvidia card. Along the way we will explore why these settings matter, what hardware acceleration does under the hood, and how to set up your machine and your project for reliable, fluid playback while you edit.
What Editors Mean By Playback Jitter
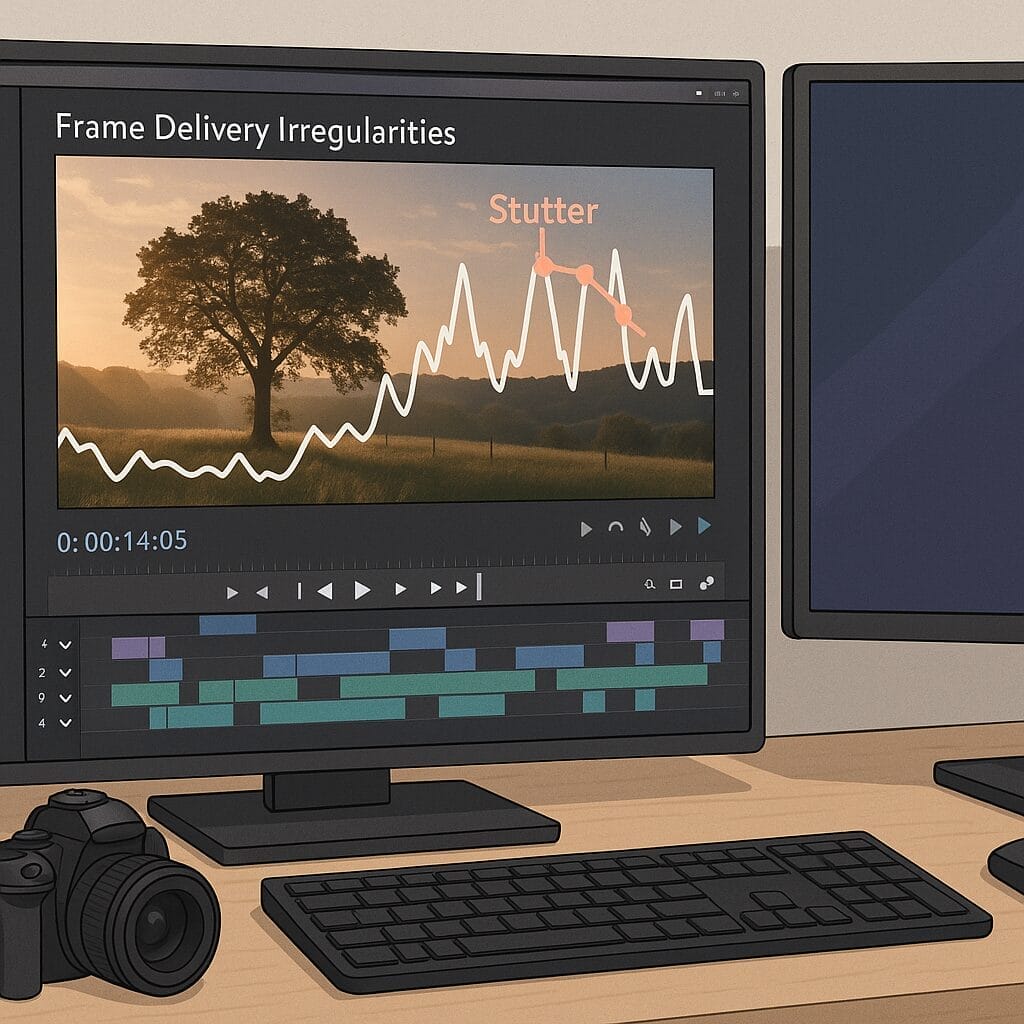
Before we head into updates and settings, it helps to define the problem clearly. Playback jitter in Filmora usually shows up as a stutter in the preview window as you scrub the timeline or hit play. Rather than a steady flow of frames at the intended frame rate, you see intermittent pauses, quick jumps forward, or a choppy cadence that breaks your focus and makes judgement on timing and transitions difficult. Jitter is distinct from lag in rendering or slow exports, because the exported video might be perfectly smooth. Jitter is most often a preview pipeline issue, where the application struggles to decode or present the frames in real time under certain conditions.
Common triggers include footage with high bit rates, footage with modern codecs such as H.265, multicam sequences, layers with effects that need real time computation, and high refresh rate displays where timing mismatches can exaggerate the perception of stutter. It can also be influenced by drivers and power plans, because the preview relies on both the CPU and the GPU to take the frames off disk, decode them, apply basic processing and then draw them to the screen in an accurate cadence. When those pieces do not stay in sync, you get jitter.
Updating to Filmora 15.2.3
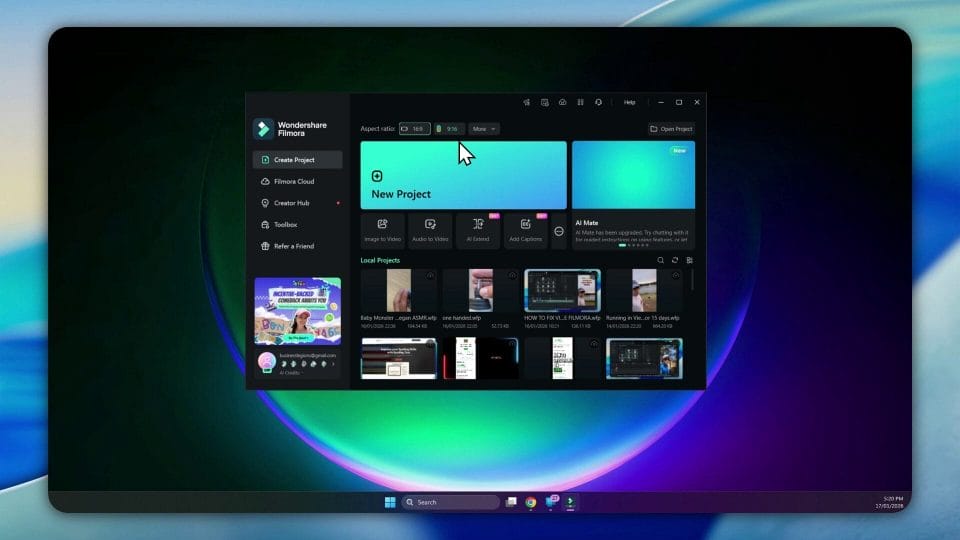
With the problem defined, let us see if Filmora 15.2.3 helps. Inside Filmora, go to the menu and choose Check for Update. The application scans for available patches and will present a prompt if a newer version is available. In this case the update page notes that 15.2.3 has been released, with a general statement that bugs have been fixed and the overall experience is improved. That is what you want to hear, but the proof is in the playback.
Click to start the upgrade. Filmora will download the installer, close necessary processes, and apply the update. You will see a progress bar as it installs, and you will be prompted to restart Filmora once the update completes. Accept the restart. When Filmora reopens, confirm that the version number in the About window is now 15.2.3. With the update in place, we can move on to testing the same project that previously exhibited jitter.
The Test Project
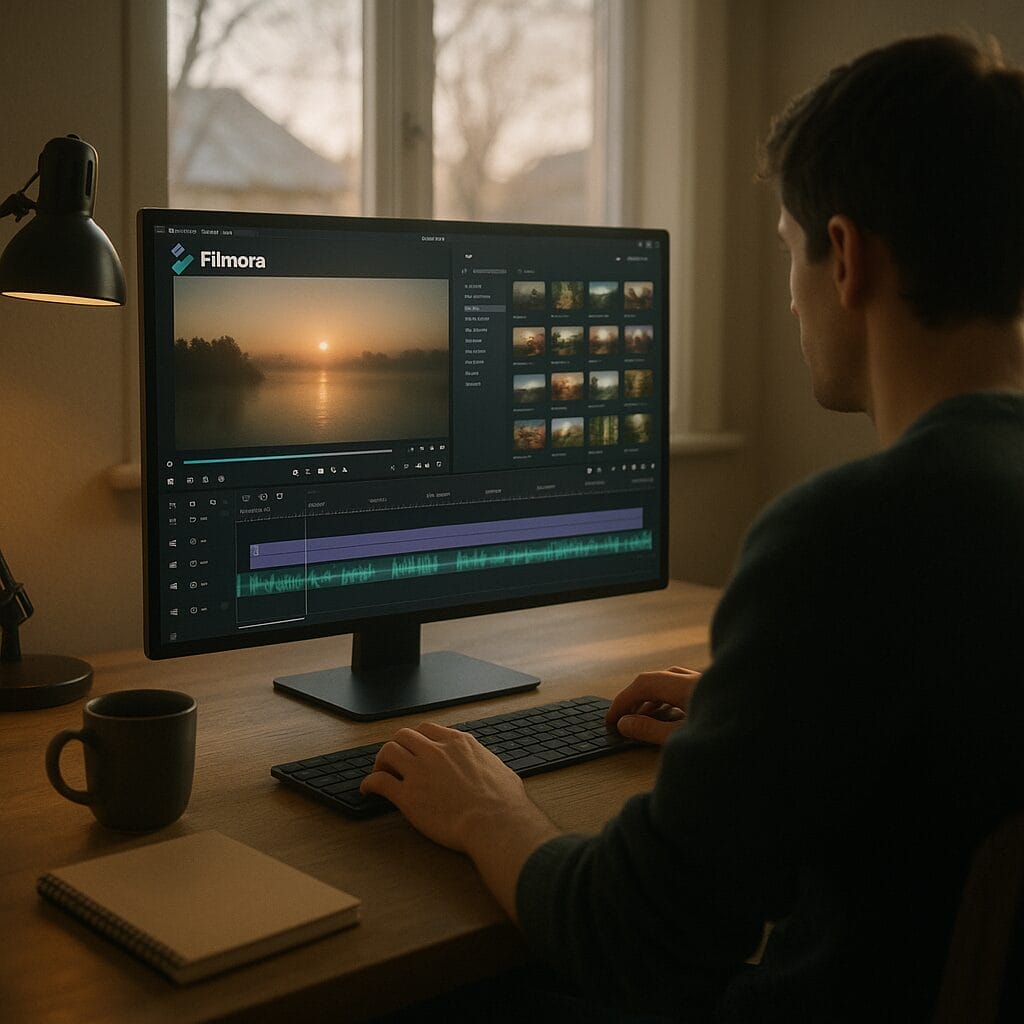
Every editor has that one project that reveals performance problems instantly. For this test I opened a sequence that had been giving me trouble before the update. It is a simple talking head clip recorded in the early morning, with a section where ducks cross a path. There are no heavy effects or complex layers. The pace is typical of vlog style footage. This kind of source should be easy for Filmora to handle, so any jitter here is a clue that the issue lies in settings or compatibility rather than the project being unusually demanding.
After the update, I loaded this timeline and prepared to try different performance configurations. Filmora includes a Performance section under Preferences that allows you to turn hardware acceleration on or off for certain tasks, and to run a GPU check that identifies available graphics hardware and sets the application to use it. Although the update promises general improvements, the key for preview smoothness is often these performance toggles.
Exploring Performance Settings and GPU Check
Open Preferences and choose the Performance tab. Here you will find options such as enabling hardware acceleration for video rendering and enabling hardware acceleration for video decoding. There is also a GPU check button. In my case the system includes an Nvidia card, so the GPU check is a sensible place to start. Click the GPU check and let Filmora scan for supported devices. When it completes, the application may prompt you to restart so that the new settings take effect. Accept the restart.

After the restart, confirm under the Performance tab that the Nvidia GPU is selected where appropriate. Close any lingering settings windows and make sure Filmora is fully restarted from scratch, not just a reload of the project pane. This matters because performance flags often take effect only at application launch. With these settings enabled, play the problematic sequence and observe the preview. At the outset of my test, it looked as though the jitter might be gone. The first few seconds were smooth and encouraging. Then the stutter returned, with a wobble in cadence and a jump during movement. So the update and GPU enabled settings had not fully addressed the issue.

When Enabling GPU Acceleration Does Not Help
This brings us to a subtle point about hardware acceleration. In theory, pushing decoding and rendering to the GPU should improve performance in the preview, because the GPU is efficient at these tasks. In practice, compatibility issues can interfere. Not all footage is decoded equally by a given GPU driver, and not all video toolkits use the same path. If the source clip is encoded in a way that triggers a less optimised path on the GPU, or if drivers are recent but not stable with your application, you can get inconsistent frame delivery during preview.
There is also the presentation layer to consider. The GPU does not just decode frames, it also composes the final image with overlays and draws it on screen inside the application. If the monitor has a high refresh rate and the application presents frames in a way that conflicts with the desktop compositor, the visible stutter can get worse. This is not strictly about raw power, it is about synchronisation and cooperation among the layers of the system.
Disabling Hardware Acceleration to Fix Jitter
After seeing that enabling GPU acceleration did not stop the stutter, I returned to Preferences, went to Performance, and disabled the hardware acceleration options for video rendering and video decoding. This seems counter intuitive. We tend to think hardware acceleration is always beneficial. But in some cases, taking these tasks back to the CPU path leads to more stable and predictable frame delivery in the preview window. The CPU may decode at a slower peak rate than the GPU, yet if it delivers frames with consistent timing and the presentation layer is simpler, the net result is smoother playback while you edit.
The timing here is important. Apply the change, close the Preferences window, close Filmora entirely, and then launch it again fresh. This ensures the application loads with the new configuration. Many users skip the full relaunch and therefore do not see the effect of their changes on the preview pipeline. Once reopened, load the same project and play the timeline. In my test, the jitter was gone. The talking head clip played steadily. When the camera moved, the cadence held. When the ducks crossed the path, the motion was natural. For this machine on this version of Filmora, disabling hardware acceleration solved the preview stutter.
Demonstration of the Improvement
To make the effect clear, listen to the rhythm of the narration and watch the motion as you play from the start. The sequence begins with a morning greeting, a mention of an early run, and a note that the day will be busy. Previously the preview would stumble at the start and during minor camera moves. After deactivating hardware acceleration in Performance settings, the audio stays locked to the video and the frames present with proper spacing. The warmth of the dawn light and the small details in the environment are easy to judge now because your eyes are not fighting the stutter.
This simple change may save you hours of frustration during an edit. That said, the best choice of settings depends on your hardware and the nature of your footage. Let us explore why this change works and what trade offs to expect.
Why Disabling Hardware Acceleration Can Help
Hardware acceleration hands certain tasks to dedicated hardware, usually the GPU. The benefits include faster decoding and rendering for supported codecs, less CPU load during complex operations, and potentially shorter export times if you use GPU assisted encoding. The costs include increased dependency on driver behaviour and increased complexity in how frames are scheduled for display. On some drivers and with some codecs, the GPU path introduces timing inconsistencies or works less smoothly with desktop composition.
By disabling hardware acceleration for video rendering and decoding, you force Filmora to use its CPU path for those tasks. Modern CPUs can handle common codecs at editing playback speeds, especially at standard resolutions and bit rates. The CPU path is often simpler and better tested for timing because it avoids the additional layer of GPU presentation. Therefore, even if the CPU must work a bit harder, it may deliver frames more consistently. The preview becomes easier to synchronise and the application does not have to juggle between GPU decoding and GPU presentation across complex driver transitions.

Trade Offs and What To Watch
There are trade offs to consider. If you turn off hardware acceleration, exports may take longer because GPU assisted encoding is not used. Background rendering to generate previews might be slower. The CPU will carry more of the load during editing. If your CPU is modest and you regularly edit high resolution footage with heavy effects, you may find this setting reduces export throughput. In exchange, you likely gain consistency in preview playback.
The sensible approach is to use settings that match your workflow. If smooth editing is the priority and you can accept slightly longer exports, disabling hardware acceleration makes sense. If export speed is your top priority and your preview is already smooth, keep acceleration on. Many editors also toggle these settings depending on the project. There is no single right answer. The correct configuration is the one that keeps your work flowing.
Step By Step Guide to Fix Playback Jitter in Filmora
Check for Update and Apply It
Open Filmora. Go to the Help menu. Select Check for Update. If Filmora 15.2.3 is available, download and install it. Follow the prompts to restart the application. Confirm the version number in the About window once Filmora reopens.
Test Your Project With Current Settings
Load a project that shows the jitter clearly. Play through a segment that includes motion and audio. Note the behaviour. If the preview is smooth now that you have updated, you may not need to change anything. If you still see stutter, proceed to Performance settings.
Run the GPU Check
Open Preferences and choose Performance. Click the GPU check button. Allow Filmora to scan for your graphics hardware. Select the available GPU if applicable. Accept any prompt to restart. After Filmora relaunches, test the project again to see if this helped. If jitter persists, move to the next step.
Disable Hardware Acceleration for Rendering and Decoding
Go back to Preferences and select Performance. Turn off the options that enable hardware acceleration for video rendering and for video decoding. Apply the changes. Close the Preferences window. Close Filmora completely. Launch Filmora fresh. Load the same project and play the timeline. Observe whether playback is now smooth. If so, your system likely benefits from CPU based preview paths.
Additional Troubleshooting Tips for Smooth Preview
Update and Reinstall GPU Drivers
Drivers are central to preview behaviour. Visit the Nvidia driver download page and install the latest studio or game ready driver that suits your work. If you already have the latest driver and problems persist, consider a clean install of the driver to refresh settings. Sometimes driver remnants cause odd behaviour that a clean install corrects.
Set Filmora to High Performance in Windows Graphics Settings
Windows includes a graphics settings panel that lets you choose which GPU is used for an application. Open Windows settings and search for Graphics settings. Add Filmora to the list if it is not already present. Set it to high performance and choose your dedicated GPU. This ensures Filmora uses the discrete GPU when it is beneficial. Even if you later disable hardware acceleration inside Filmora for preview smoothness, this setting can improve export performance and general responsiveness.
Check Power Plan and Performance Mode
Your power plan affects how aggressively the CPU and GPU boost to handle workload. Open Windows Power Options and choose a balanced or high performance plan that suits your use. On laptops, ensure the machine is plugged in and set to work in performance mode if you are editing. Underpowering components can cause irregular frame delivery during preview.
Match Project Settings to Footage
Frame rate mismatches can exaggerate jitter. If your footage is variable frame rate or recorded at an unusual frame rate, set your project timeline to match the intended frame rate. Use proxies if necessary to normalise playback. Filmora allows you to adjust preview quality. Use half resolution during editing if full resolution stutters. This does not change the export quality, it simply reduces the load while you edit.
Use Proxy Files and Render Previews
Proxies are lower resolution or lower bit rate versions of your footage that stand in during editing. Filmora can generate proxies so that the preview is much easier to play. Similarly, use the render preview function to precompute sections with effects, transitions and colour grading. These previews are cached and play back smoothly, which reduces reliance on real time decoding and rendering.
Manage Cache and Media
Large caches or fragmented media drives can slow down frame reads during preview. Clean your cache from within Filmora settings to remove old previews and thumbnails. Store active project media on a fast SSD with good read speeds. The path from disk to decoder is part of the pipeline. Consistent read speeds help maintain frame cadence.
Close Background Applications
Other applications that use the GPU or hog CPU resources can disrupt timing. Close web browsers with many tabs, messaging apps with overlays, and any background tasks that draw to the screen. This reduces competition for resources and can improve preview smoothness immediately.
Testing Methodology and Observations
For transparency, let me outline the testing steps and observations in detail. After confirming the update to Filmora 15.2.3, I launched the problematic project and played through a typical segment. With hardware acceleration enabled and the GPU check set to Nvidia, the preview played smoothly for a short burst and then exhibited a jitter during motion. Audio remained continuous, but the video stutter was visible, most notably when the clip shifted from the static talking head to the moving scene with ducks.
I then returned to the Performance panel, disabled hardware acceleration for both video rendering and video decoding, applied changes, closed preferences, closed Filmora, and relaunched the application. On replaying the same segment, the preview was consistently smooth. The cadence was even, the frame delivery did not wobble, and the transition into motion felt natural. No stutter appeared at the previous trouble points. This behaviour remained stable across multiple replays and across different segments of the project.
It is valuable to repeat tests with a different project to ensure the effect is not specific to a single clip. I tested with a second clip recorded on a different camera, and the behaviour matched the first project. With hardware acceleration on, occasional jitter during movement. With hardware acceleration off, smooth preview. I then exported a short section to compare export times. Exports were slightly slower without acceleration, as expected, but acceptable given the improved preview experience. For my workflow where timing and pacing judgement during editing is critical, the trade off is worthwhile.
How to Decide For Your System
Given that systems vary, here is a practical way to decide what settings to use. Take a representative project. Note three segments that include different types of motion and detail. Play them back on full resolution preview and also at half resolution. If you see stutter, try these paths:
- Enable hardware acceleration and run the GPU check. Restart Filmora and test again.
- If jitter persists, disable hardware acceleration for both video rendering and decoding. Restart and test again.
- If both settings show stutter, switch preview quality to half and generate proxies. Test again.
- Update GPU drivers, set Filmora graphics preference in Windows to high performance, and retest.
Record the results and choose the configuration that gives consistently smooth preview for your typical projects. You can adjust settings per project if you find that some footage benefits from acceleration while other footage does not.
A Broader Look at Filmora 15.2.3 Improvements
Although the changelog mentions general bug fixes and improvements without specific detail, the application feels slightly more responsive in the interface after the update. The asset loading animation appears smoother, and timeline scrubbing has a cleaner feel. However, as the test shows, the update did not eliminate all instances of preview jitter by itself. That is not unusual. Preview behaviour is a complex interaction between application, drivers, hardware and operating system. Updates improve parts of the chain, but you may still need to tune settings to fit your specific environment.
If you are coming from 15.2.2 and noticed jitter there, make the update, then work through the performance toggles to find a stable configuration. Keep in mind that future updates may alter this balance. It is wise to recheck performance settings after each patch and driver update, because a new driver may improve GPU decoding or change how the application presents frames. Filmora gives you the tools to adapt quickly. Use them to keep your workflow smooth.
Small Observations That Make a Difference
Here are some small but useful observations that improve the preview experience.
- Close the settings window and then close Filmora before restarting. A full application relaunch ensures all performance flags reset. A simple project reload may not apply deep changes.
- Do not leave windows such as the GPU check panel open when testing. Make sure the application is in a normal preview state with no modal windows.
- Restart the project file from a known spot each time you test to make comparisons fair. The first seconds of playback can behave differently from mid timeline, so test both.
- If you use multiple monitors with different refresh rates, test on each monitor. Some jitter is more visible on high refresh rate panels if the application does not synchronise correctly.
These may seem minor, but performance tuning often hinges on consistent testing. If your tests are clean, your conclusions will be reliable.
Final Thoughts and Recommendations
Filmora 15.2.3 brings welcome polish, but in this hands on test the update alone did not resolve preview jitter. The most effective fix was to disable hardware acceleration for video rendering and video decoding under Preferences and Performance, then restart the application. This change removed stutter on a Windows system with an Nvidia GPU and yielded consistently smooth playback during editing.
Based on this experience, here are practical recommendations:
- Update Filmora to 15.2.3 to benefit from general improvements.
- Use the GPU check to detect supported hardware, but do not assume enabling acceleration will always help preview.
- If you have visible jitter, disable hardware acceleration for video rendering and decoding, restart, and test again.
- Adopt proxies and render previews for demanding sections. Match timeline settings to your footage.
- Keep your GPU drivers updated and set Filmora to high performance in Windows graphics settings.
- Store media on a fast SSD and keep your cache clean.
Every editor wants the same outcome. A preview that feels like real life. Smoother playback is more than comfort, it is confidence. You can judge the cut, evaluate transitions, and catch micro timing issues when your eyes are not fighting the stutter. Whether you use GPU acceleration or not, the goal is to find the configuration that gives you that confidence. Filmora provides the switches. Use them thoughtfully, test patiently, and lock in the settings that keep your timeline flowing.
If this walkthrough helped you tame the jitter, give the video a like and consider subscribing to the channel for more practical tests and tutorials. As further updates arrive, I will revisit performance settings and report on what changes, what improves, and what tips still apply.

Marco / admin / 30 Nov
Writing day to day ramblings about making money, business, technology, sharing awesome deals and everything else that I know I'll forget. Follow my personal blog https://marcotran.com.au
I've recently also turned Vegan and started this website Veggie Meals - check it out
"When technology speaks for itself, that is art" - MT
Affiliate Compensated: there are some articles with links to products or services that I may receive a commission.
OTHER ARTICLES YOU MAY LIKE

Mootion in 2026: The Essential Tool for Social Media and Presentation Success
Mootion in 2026 revolutionizes social media and presentations with innovative features, enhancing engagement and visual storytelling for impactful communication.
read more
Dynal: The Complete Guide to Effortless Content Creation and Networking
Unlock seamless content creation and effective networking with Dynal’s comprehensive guide, designed to enhance your productivity and online presence.
read more