DRILL BRUSH KIT REVIEW: OZITO 16-PIECE UNBOXED + REAL CLEANING RESULTS
September 1, 2025 / by Marco / Categories : Business
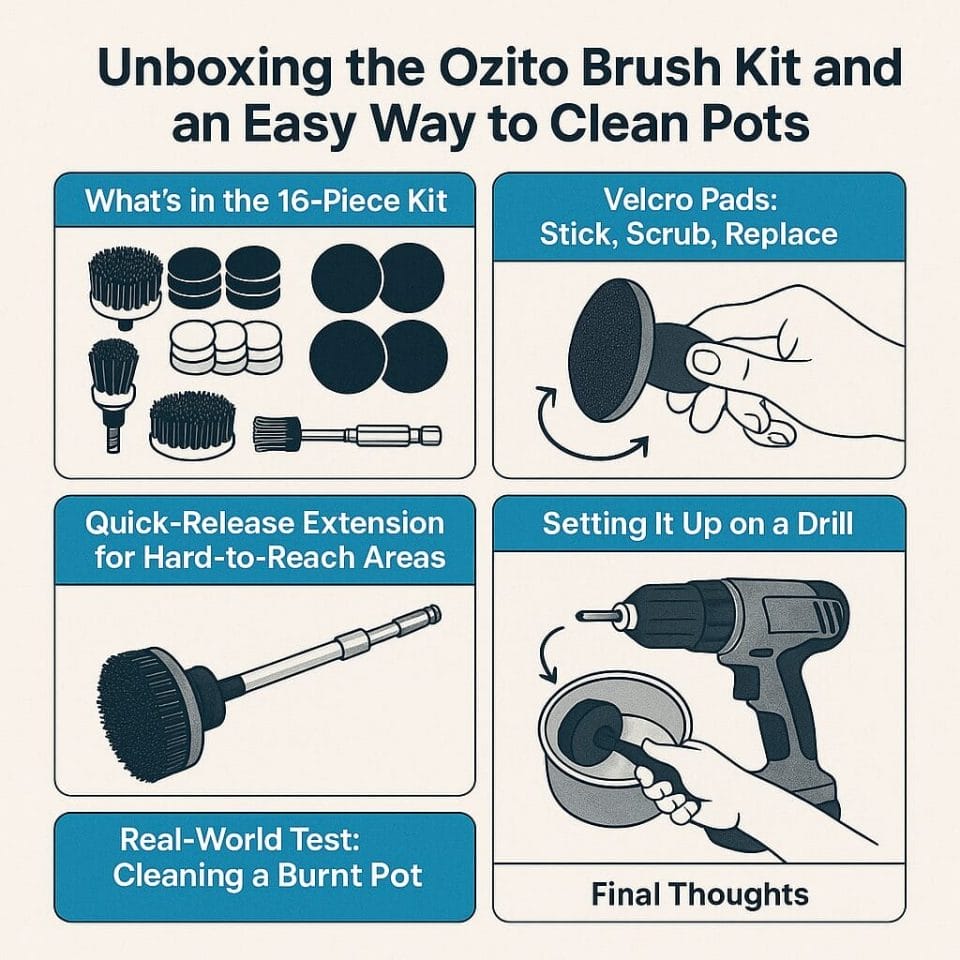
Ready to put a drill-powered brush kit to the test? In this unboxing and quick clean-up, we crack open a 16-piece drill brush set, check out what each piece is for, and then try it on a stained pot to see how it performs. If you’ve ever wondered how these brush kits stack up for real-life cleaning, read on.

What’s in the 16‑Piece Kit
Right out of the box, you get a variety of attachments geared toward removing dirt and grime from different surfaces—think wheels, tiles, and more. The highlights:
- A selection of brushes with different stiffness levels (some softer, some firmer) for different materials.
- Extra scrubbing pads that attach via a Velcro-backed base—stick on, peel off, and swap quickly.
- A Velcro pad holder for those stick-on pads.
- A quick-release extension bit to help you reach tighter spots.
From the product images, one of the brush profiles looks ideal for wheel rims, while the softer options suit gentler surfaces.

Velcro Pads: Stick, Scrub, Replace
The kit includes a hook-and-loop (Velcro) backing plate. Pop a pad on, press firmly, and it holds tight during scrubbing. When you’re done, just peel it off and swap to a fresh pad in seconds.

Quick-Release Extension for Hard-to-Reach Areas
The extension is a simple but handy add-on: click it into your drill’s chuck, then snap your chosen brush or pad holder into the extension. To remove, press down the release collar and the bit pops right out. It’s perfect for reaching into wheel rims, corners, or deep pots and pans.

Setting It Up on a Drill
Installation is straightforward. Insert the extension (or a brush directly) into your drill’s chuck—shown here with a Ryobi drill—tighten it up, then click in the attachment you want. The quick-release makes swapping brushes painless mid-clean.

Real-World Test: Cleaning a Burnt Pot
For a practical demo, we grabbed a pot with a few stubborn burn stains along the sides. It’s the kind of everyday mess that’s perfect for a drill brush test.

Brush Alone vs. Brush + Cleaner
Starting with just the brush and a little elbow grease, you can see it begin to lift some residue. A larger or stiffer brush helps with the scrubbing action, but for baked-on stains, pairing the brush with a cream cleanser is a game-changer.
Enter GIF cream. A small amount applied to the stained area, followed by a quick pass with the drill brush, noticeably accelerates the clean—especially in the base and along the side walls where discoloration lingers.

Results and Recommendation
After a short scrub with the brush and GIF cream, the pot looks significantly cleaner. The takeaway: for tough, burnt-on stains in cookware, use the brush set as the muscle and a cream cleanser as the helper to lift the grime faster. If you’re tackling delicate finishes, start with the softer brush and light pressure.

Final Thoughts
This 16-piece drill brush kit is versatile, easy to use, and made more effective by the quick-release extension and Velcro-backed pads. It’s great for automotive tasks like wheel rims and equally handy in the kitchen for pots and pans—especially when teamed up with a cream cleanser for stubborn stains. We’ll be trying it on more surfaces next, but first impressions are promising: quick setup, solid hold, and noticeable results.
Got a surface you’re curious about? Drop a suggestion, and we’ll put the brush kit to the test.

Marco / admin / 30 Nov
Writing day to day ramblings about making money, business, technology, sharing awesome deals and everything else that I know I'll forget. Follow my personal blog https://marcotran.com.au
I've recently also turned Vegan and started this website Veggie Meals - check it out
"When technology speaks for itself, that is art" - MT
Affiliate Compensated: there are some articles with links to products or services that I may receive a commission.
OTHER ARTICLES YOU MAY LIKE

REVIEWING AND UNBOXING THE TOOCKI USB-C RIGHT ANGLE 1.2M CABLE
USB C cables are among the most ordinary accessories we own, yet they can make a surprisingly noticeable difference to how comfortable our devices are to use while charging. The Toocki USB C right angle cable is a good example of a simple accessory that tries to solve a very common irritation, because instead of […]
read more
QUICK FIX TO CHANGE THE MAX SELL POWER TO LESS THAN 500W ON THE DEYE INVERTER
There are many reasons a home owner or installer might want to place a tight cap on how much solar power is exported to the public grid. Some households live under a strict export cap imposed by their local distribution network operator, others want to reduce export to focus on self consumption and battery charging, […]
read more