HOW TO ADD OPENAI GPT-5 MODEL IN AZURE AI FOUNDRY
August 13, 2025 / by Marco / Categories : Business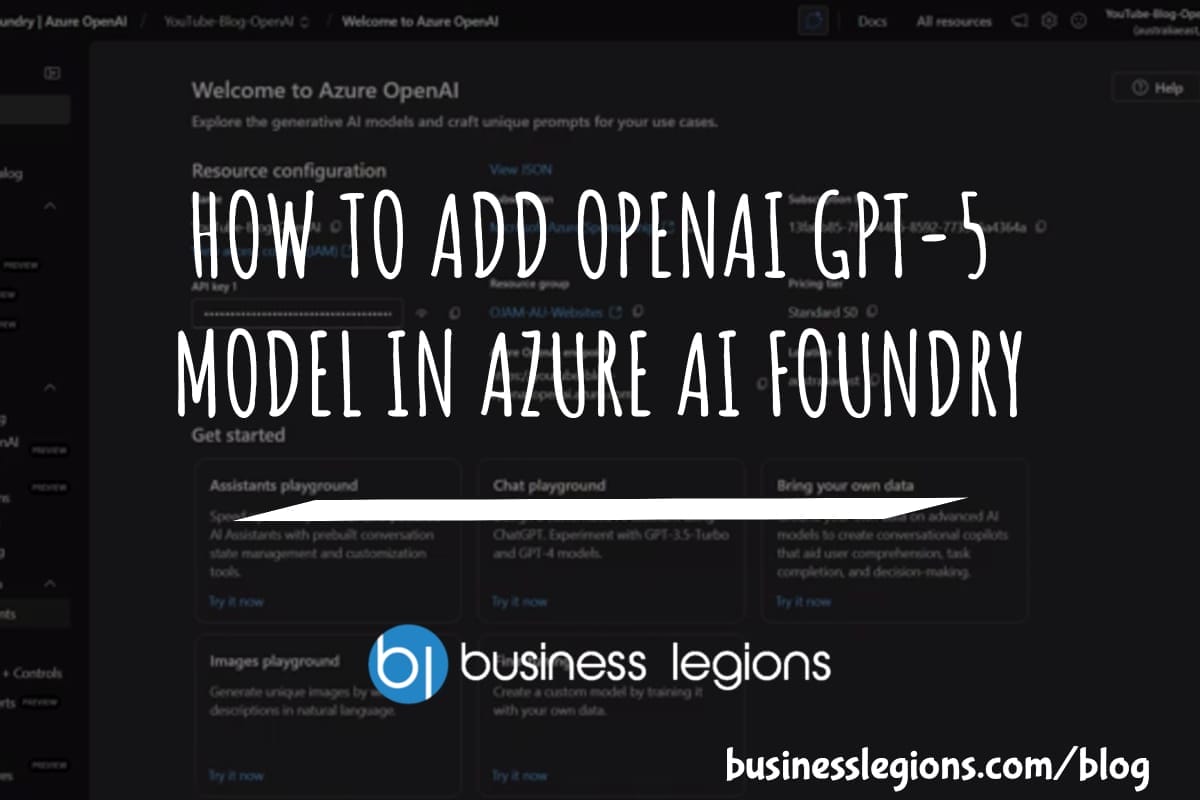
Looking to try the new GPT‑5 model inside Azure AI Foundry? In this walkthrough, I’ll take you through the exact journey shown in the video—from signing in, requesting access (because the model is gated), all the way to deploying the base model and grabbing the endpoint you’ll use in your apps. If you’ve never deployed a gated Azure AI model before, don’t stress. It’s a straightforward process once you know where everything lives in the portal.
We’ll cover:
- How to find the deployment area in Azure AI Foundry
- What to do if GPT‑5 shows a lock icon (access request)
- The email sequence you’ll receive and what to click
- Deploying GPT‑5 as a base model and choosing a region
- Setting a sensible rate limit (tokens per minute)
- Where to find the endpoint details to start coding
Along the way, I’ll call out some practical tips about quotas, regions, and rate limits, so you don’t get stuck waiting in queues or wondering why a region is unavailable. The screenshots referenced in the video are included below—when you see them, they’ll help you visualise the exact screens you need to use.
As you can see in the image below, this is the starting point for the process inside Azure AI Foundry.

Before you start: what you’ll need
Before diving into the deployment steps, check you’ve got:
- An active Azure subscription with permission to create resources (Owner or Contributor on the subscription or resource group).
- Access to Azure AI Foundry (formerly part of Azure OpenAI/AI Studio experiences).
- Your Azure Subscription ID handy for any access request forms.
- Awareness of your organisation’s region and compliance requirements (because not every region will have quota for new models straight away).
If you’ve deployed other Azure AI models before, this will feel familiar. The only extra step is the access request, because GPT‑5 appears as a gated model in the catalogue.
Step 1: Sign in and open the Deployments area
Start by signing in to your Azure account. In Azure AI Foundry, look down the left‑hand side navigation and find the Deployments or Deployment area. This is where you control which models are deployed into your workspace.
Click Deploy model to kick off the process. You’ll be presented with a list of models you can deploy. If this is your first time here, it’s simply a catalogue—you still need to choose and configure the model you want.
Step 2: Find GPT‑5 in the model list and request access
In the model list, locate GPT‑5. You’ll notice there’s a lock icon next to it. That lock indicates the model is gated. To proceed, you need to submit a request to Microsoft for access.
As you can see in the image below, the GPT‑5 entry displays with a lock until your request is approved, which is normal for new or high‑demand models.

Click the option to request access. You’ll be taken to a form where you’ll provide:
- Your contact details
- Your Azure Subscription ID
- Basic usage context (if requested), describing how you plan to use the model
It’s all fairly straightforward. Fill out the fields accurately and submit. You’ll receive an acknowledgement email shortly after, usually from Cognitive Services Gating Support. Keep an eye on your inbox for the follow‑up verification and approval messages.
Step 3: Verify your email
After submitting the access request, you’ll receive an email prompting you to verify your email address. Click the blue verification button in that message to confirm it’s really you. This is important—your request won’t progress until you complete verification.
As you can see in the image below, the verification email includes a clear call‑to‑action button. Click it, and you’ll be on your way.

Once verified, all you need to do is wait for the approval email. This can be quick, but timing can vary depending on demand and your account.
Step 4: Watch for the approval/onboarding email
When your request has been approved, you’ll receive an onboarding or approval email stating your access has been granted. At that point, head back into Azure AI Foundry and return to the Deploy model area. Choose Deploy base model to open the deployment wizard for GPT‑5.
You should now see GPT‑5 listed and selectable. You may also notice newer variants appear in the list—things like Nano, Chat variants, or Pro editions. These are handy if you’re experimenting with different capabilities or cost/latency profiles, but for this guide, we’ll stick with deploying GPT‑5.
As you can see in the image below, GPT‑5 appears in the deployable list once the request is approved, along with other models. You’ll also note an indicative capacity figure in the UI.
At this point, the wizard may show a default or suggested capacity such as tokens per minute (TPM). Consider this as a starting point; you can customise the rate limit in later steps within your quota.
Step 5: Choose configuration, region and quotas
Next, you’ll be prompted to configure the deployment: naming, pricing tier (for example, Global Standard), and region. The region is a key decision because availability and quota can vary. In the video example, some regions displayed no quota at all for GPT‑5, which meant they couldn’t be selected. That’s common when a model is newly available or in high demand.
As you can see in the image below, when a region has no quota, you simply can’t pick it. In the walkthrough, the only available option was Eastern US 2, so that’s what was selected.

If you have a preference for a closer region due to latency or data residency, you can either wait for quota to open up or submit a quota request through your Azure support channel. For many teams, selecting an available region now and migrating later is the quickest way to get hands‑on.
Step 6: Set a sensible rate limit (tokens per minute)
During deployment, you’ll have the option to set a tokens‑per‑minute (TPM) rate limit for the deployment. Think of this as your safety valve—it protects your budget and ensures your application won’t exceed a throughput you’re comfortable with. The video demonstrates adjusting the TPM value, with commentary that they wouldn’t need more than roughly 1,000 TPM for their use case.
Here are a few tips for picking a TPM value:
- Start conservatively. If you’re testing or building a prototype, a lower TPM helps control costs whilst you tune prompts and usage patterns.
- Align with expected traffic. Estimate how many requests per minute you’ll receive, multiply by average tokens per request/response, and set TPM accordingly.
- Watch for throttling. If you see 429 or rate limit errors in your application logs, you may need to nudge your TPM higher (assuming your quota allows).
Remember, the TPM you set must fit within your assigned quota for the region and model. If you need more headroom, you’ll have to request a quota increase or choose a region with more available capacity.
Step 7: Create the resource and deploy
With the region and TPM set, click Create resource and deploy. Azure will begin provisioning the deployment. This can take a little while—especially when a model is new and a lot of people are trying to get access at once—so don’t be surprised if there’s a short wait.
As you can see in the image below, the provisioning screen shows progress while Azure spins up the deployment in the background.

Once it flips to a success state, you’re ready for the final step: grabbing the endpoint and connecting your app.
Step 8: Grab your endpoint and start building
After the deployment is created, open it from the Deployments area. There you’ll find the endpoint URL, the deployment name, and the other bits you need to connect. Depending on your workspace and security setup, your keys or tokens will be in the usual place for Azure AI services.
With that information, you can integrate GPT‑5 into your app or workflow. Whether you’re using the REST API or an SDK, you’ll specify the endpoint, include your deployment name, and authenticate using your key or Azure AD. From there, it’s just a matter of sending prompts and handling responses.
That’s it—you’ve added GPT‑5 in Azure AI Foundry and you’re good to go.
Key takeaways from the video
- GPT‑5 appears as a locked model by default—submit an access request via the portal.
- You’ll receive an acknowledgement email, then a verification email with a blue button to confirm your address, followed by an onboarding/approval email.
- Once approved, go to Deploy model → Deploy base model, select GPT‑5, and continue through the wizard.
- Regions vary in availability; in the example, Eastern US 2 had capacity while others didn’t.
- Set a tokens‑per‑minute rate limit that suits your use case and budget.
- Provisioning may take a little while due to demand—be patient.
- After deployment, copy the endpoint details to integrate GPT‑5 with your application.
FAQ: common issues and quick fixes
I can’t see GPT‑5 in the list or it still shows a lock. What now?
If the model still shows a lock, your access request is probably still pending. Make sure you completed the email verification (click the blue button in the verification email), and double‑check that the approval email has arrived. If it’s still pending after a reasonable wait, raise a support ticket with Microsoft or check your organisation’s admin settings to ensure you’re allowed to request gated models.
Why does my preferred region show “no quota”?
New models often roll out incrementally. Some regions have capacity early, others follow. If your preferred region has no quota, pick an available region (as in the video example with Eastern US 2) so you can get moving. You can also request a quota increase or wait for capacity to open. Keep an eye on your cost and latency needs—sometimes using a nearby region is perfectly fine for prototypes and internal tools.
How do tokens per minute relate to my costs?
TPM doesn’t directly set your cost; it’s a throttle. Your actual costs are driven by total tokens processed (input + output) multiplied by the model’s pricing. Setting TPM helps prevent runaway usage in case of traffic spikes or code loops. Start lower, monitor, and adjust as needed.
My deployment is stuck or taking ages. Should I cancel?
Provisioning can take a bit under load. Unless it’s clearly failed with an error, give it time. If it doesn’t complete, check Azure Service Health for any known incidents, verify your subscription limits, and try again or choose another region with capacity.
Where do I find the endpoint and credentials?
Open your deployment in Azure AI Foundry and look for the endpoint details section. You’ll see the base URL and deployment name you’ll use in your API calls. Authentication is usually via a key or Azure AD; ensure your team’s security policies are followed for storing and rotating secrets.
Can I deploy multiple variants (e.g., GPT‑5 and Nano/Pro) side‑by‑side?
Yes. Many teams run a few variants: a heavier model for premium features, and a lighter one for quick or low‑cost tasks. Just keep an eye on quotas and make sure you have sufficient capacity. Use different deployment names so you can route requests as needed.
Practical tips for a smooth deployment
1) Name your deployments clearly
Adopt a naming convention that includes the model, environment, and purpose—something like “gpt5‑prod‑chat” or “gpt5‑dev‑experiments”. It makes it easier to track usage and direct requests appropriately in code.
2) Separate environments (dev/test/prod)
Use separate deployments (and even separate workspaces or subscriptions if your governance requires it) for development and production. That way, you can tune prompts without risking production stability or budget.
3) Decide on your token policy upfront
Estimate average prompt and response sizes, then set TPM so you’re within your budget even under peak. For example, if you expect 20 requests per minute at ~500 tokens each, a 10,000 TPM limit might be reasonable. If you’re experimenting, dial it lower and only increase when you see throttling and you’re comfortable with the spend.
4) Monitor usage and errors from day one
Plug your application logs into a dashboard and keep an eye on 429 (rate limit), 5xx (service) and 4xx (request) errors. Combine that with cost monitoring in Azure Cost Management so you can correlate behaviour with spend.
5) Plan for retries and fallbacks
Rate limits and transient errors happen. Implement exponential backoff on retries, and consider a lightweight fallback model for non‑critical requests. For user‑facing features, graceful degradation beats hard failures.
6) Keep security tight
Use Azure Key Vault or your organisation’s secret manager for API keys. Apply role‑based access control to limit who can deploy or change rate limits. If you’re working with sensitive data, review data handling policies for the region you selected.
7) Consider prompt caching and batching
Caching frequent prompts (where appropriate) or batching multiple small requests can reduce costs and smooth out spikes. Just make sure you preserve privacy and comply with your data retention policies.
What you’ll see at each stage (mapped to the screenshots)
Here’s a quick refresher on what each screenshot in the video represents, so you know you’re on the right path as you follow along.
- Initial sign‑in and navigation to the deployment area—this is your starting point in Azure AI Foundry. You click Deploy model from the left‑hand menu items to get going.
- Model list with GPT‑5 showing a lock icon—indicates the model is gated and requires an access request. You’ll click through to submit your details, including your Azure Subscription ID.
- Email verification step—look for the blue button in your inbox from Cognitive Services Gating Support. Clicking it confirms your email address so your request can be processed.
- Post‑approval, GPT‑5 is visible in the Deploy base model list—you might also see other variants like Nano or Pro. The UI may show an indicative capacity figure such as tokens per minute
- Region selection and quota visibility—some regions show no quota and are unavailable. In the example, Eastern US 2 had capacity and was selected. You can adjust TPM within your quota.
- Provisioning in progress—the deployment may take a little while, especially under heavy demand. Once it completes, you’ll see the endpoint details to use in your integrations.
Testing your deployment
Once you’ve got the endpoint and deployment name, it’s time to test. You can do this in a few ways:
- Use the built‑in testing tools inside Azure AI Foundry (if available for your workspace). These often let you send a prompt and view the response without leaving the portal.
- Spin up a small test script in your favourite language using the Azure SDK or REST API. Hard‑code a prompt, call the endpoint, and print the response to confirm everything’s working.
- Hook it into a Postman collection or an API client you trust. It’s a quick way to iterate whilst you fine‑tune your headers, auth, and body.
If you see rate limit errors out of the gate, double‑check your TPM limit and make sure you’re not unintentionally sending multiple requests in a loop. If you see authentication errors, confirm you’re using the right key and that the key hasn’t expired or been rotated.
Cost and performance guardrails
New models like GPT‑5 can deliver advanced capabilities, but it’s smart to put a few guardrails in place from day one:
- Set budgets and alerts in Azure Cost Management. It’s easy to do, and it gives you early warnings if something unexpected happens.
- Log token usage per request. That visibility is gold when you’re trying to reduce prompt sizes or tune response lengths.
- Enforce sensible maximums on input and output tokens in your code. Users have a habit of pasting entire documents—best to put a cap in place.
- Introduce caching where safe. If your application frequently sends the same context, cache and reuse results to reduce spend and latency.
Scaling and future‑proofing
As your usage grows, you’ll likely need to revisit region selection, quotas, and rate limits. A few pointers:
- Watch service health and regional announcements—capacity shifts over time as Microsoft adds more hardware and new regions come online.
- Batch non‑urgent work. For scheduled tasks, pick off‑peak windows to reduce contention and the risk of throttling.
- Consider a multi‑deployment strategy. For example, keep a “premium” GPT‑5 deployment for business‑critical tasks and a lighter model for routine work.
- Document your configuration. Capture the deployment name, region, TPM, and quota history so future team members can understand your setup quickly.
Summary of the step‑by‑step process
- Sign in to Azure AI Foundry and open Deployments.
- Click Deploy model and find GPT‑5 in the model list.
- If it’s locked, submit the access request with your contact details and Azure Subscription ID.
- Verify your email by clicking the blue button in the verification email.
- Wait for the onboarding/approval email confirming your access.
- Return to Deploy model → Deploy base model and select GPT‑5.
- Choose your region (select one with available quota, e.g., Eastern US 2 if that’s what you see).
- Set your tokens‑per‑minute limit to match your needs and budget.
- Click Create resource and deploy; wait for provisioning to complete.
- Open the deployment to retrieve the endpoint and deployment name, then integrate with your app.
Wrapping up
That’s the full tour for adding GPT‑5 into Azure AI Foundry the same way it’s shown in the video. The only slightly tricky bit is the initial access request—once you’ve clicked the verification link and received approval, the rest follows the usual Azure AI deployment flow. Regions and quotas will ebb and flow, so if your first choice isn’t available, pick a region that is and get your prototype running now.
If this guide helped you get set up, do share it with a mate or your team—it’ll save them a bit of back‑and‑forth hunting for the right buttons. And if you’re keen for more tips on practical AI deployments, consider subscribing to the channel from the video and keeping an eye on updates as new model variants land.
Happy building, and enjoy exploring what GPT‑5 can do in your projects.

Marco / admin / 30 Nov
Writing day to day ramblings about making money, business, technology, sharing awesome deals and everything else that I know I'll forget. Follow my personal blog https://marcotran.com.au
I've recently also turned Vegan and started this website Veggie Meals - check it out
"When technology speaks for itself, that is art" - MT
Affiliate Compensated: there are some articles with links to products or services that I may receive a commission.
OTHER ARTICLES YOU MAY LIKE
REVIEWING AND UNBOXING THE TOOCKI USB-C RIGHT ANGLE 1.2M CABLE
USB C cables are among the most ordinary accessories we own, yet they can make a surprisingly noticeable difference to how comfortable our devices are to use while charging. The Toocki USB C right angle cable is a good example of a simple accessory that tries to solve a very common irritation, because instead of […]
read more
QUICK FIX TO CHANGE THE MAX SELL POWER TO LESS THAN 500W ON THE DEYE INVERTER
There are many reasons a home owner or installer might want to place a tight cap on how much solar power is exported to the public grid. Some households live under a strict export cap imposed by their local distribution network operator, others want to reduce export to focus on self consumption and battery charging, […]
read more